Passport Wallet
This was my first leatherworking project (as well as my first instructional blog post). I wanted to make a birthday present for my dad that he would enjoy and appreciate, which he did. 😤
Materials
- Leather
- Waxed Thread
- Piercing Awl
- Self-healing cutting mat
- Adhesive
- (pick one) Laser Cutter or Cricut Cutter or a steady hand with an exacto knife
- (pick one) Stitching Wheel or Measuring Tape
- (optional) Hook Awl or Crochet Hook
- (optional) Bone folder
I got most of my materials from Etsy. The TLKKUE Leather Tooling Kit had the awls, stitching wheel, and waxed thread. I got the leather from Carver Leather Supply. They have pretty reasonable prices. I purchased the top grain upholstery leather, which works well for this project, albeit somewhat floppy. I compensate by using some cardboard backing for structure. My cutting mat is from Blick, and it’s useful for a number of craft projects. I used ordinary school glue as my adhesive. I was going to grab some PVA from Blick, but I was running up against the time limit of my dad’s imminent birthday, so I just used what I had on hand. I had access to my unversity’s laser cutter, so I used that for the leather. Do not use a laser cutter if you’re using pleather - it releases chlorine gas.
Planning
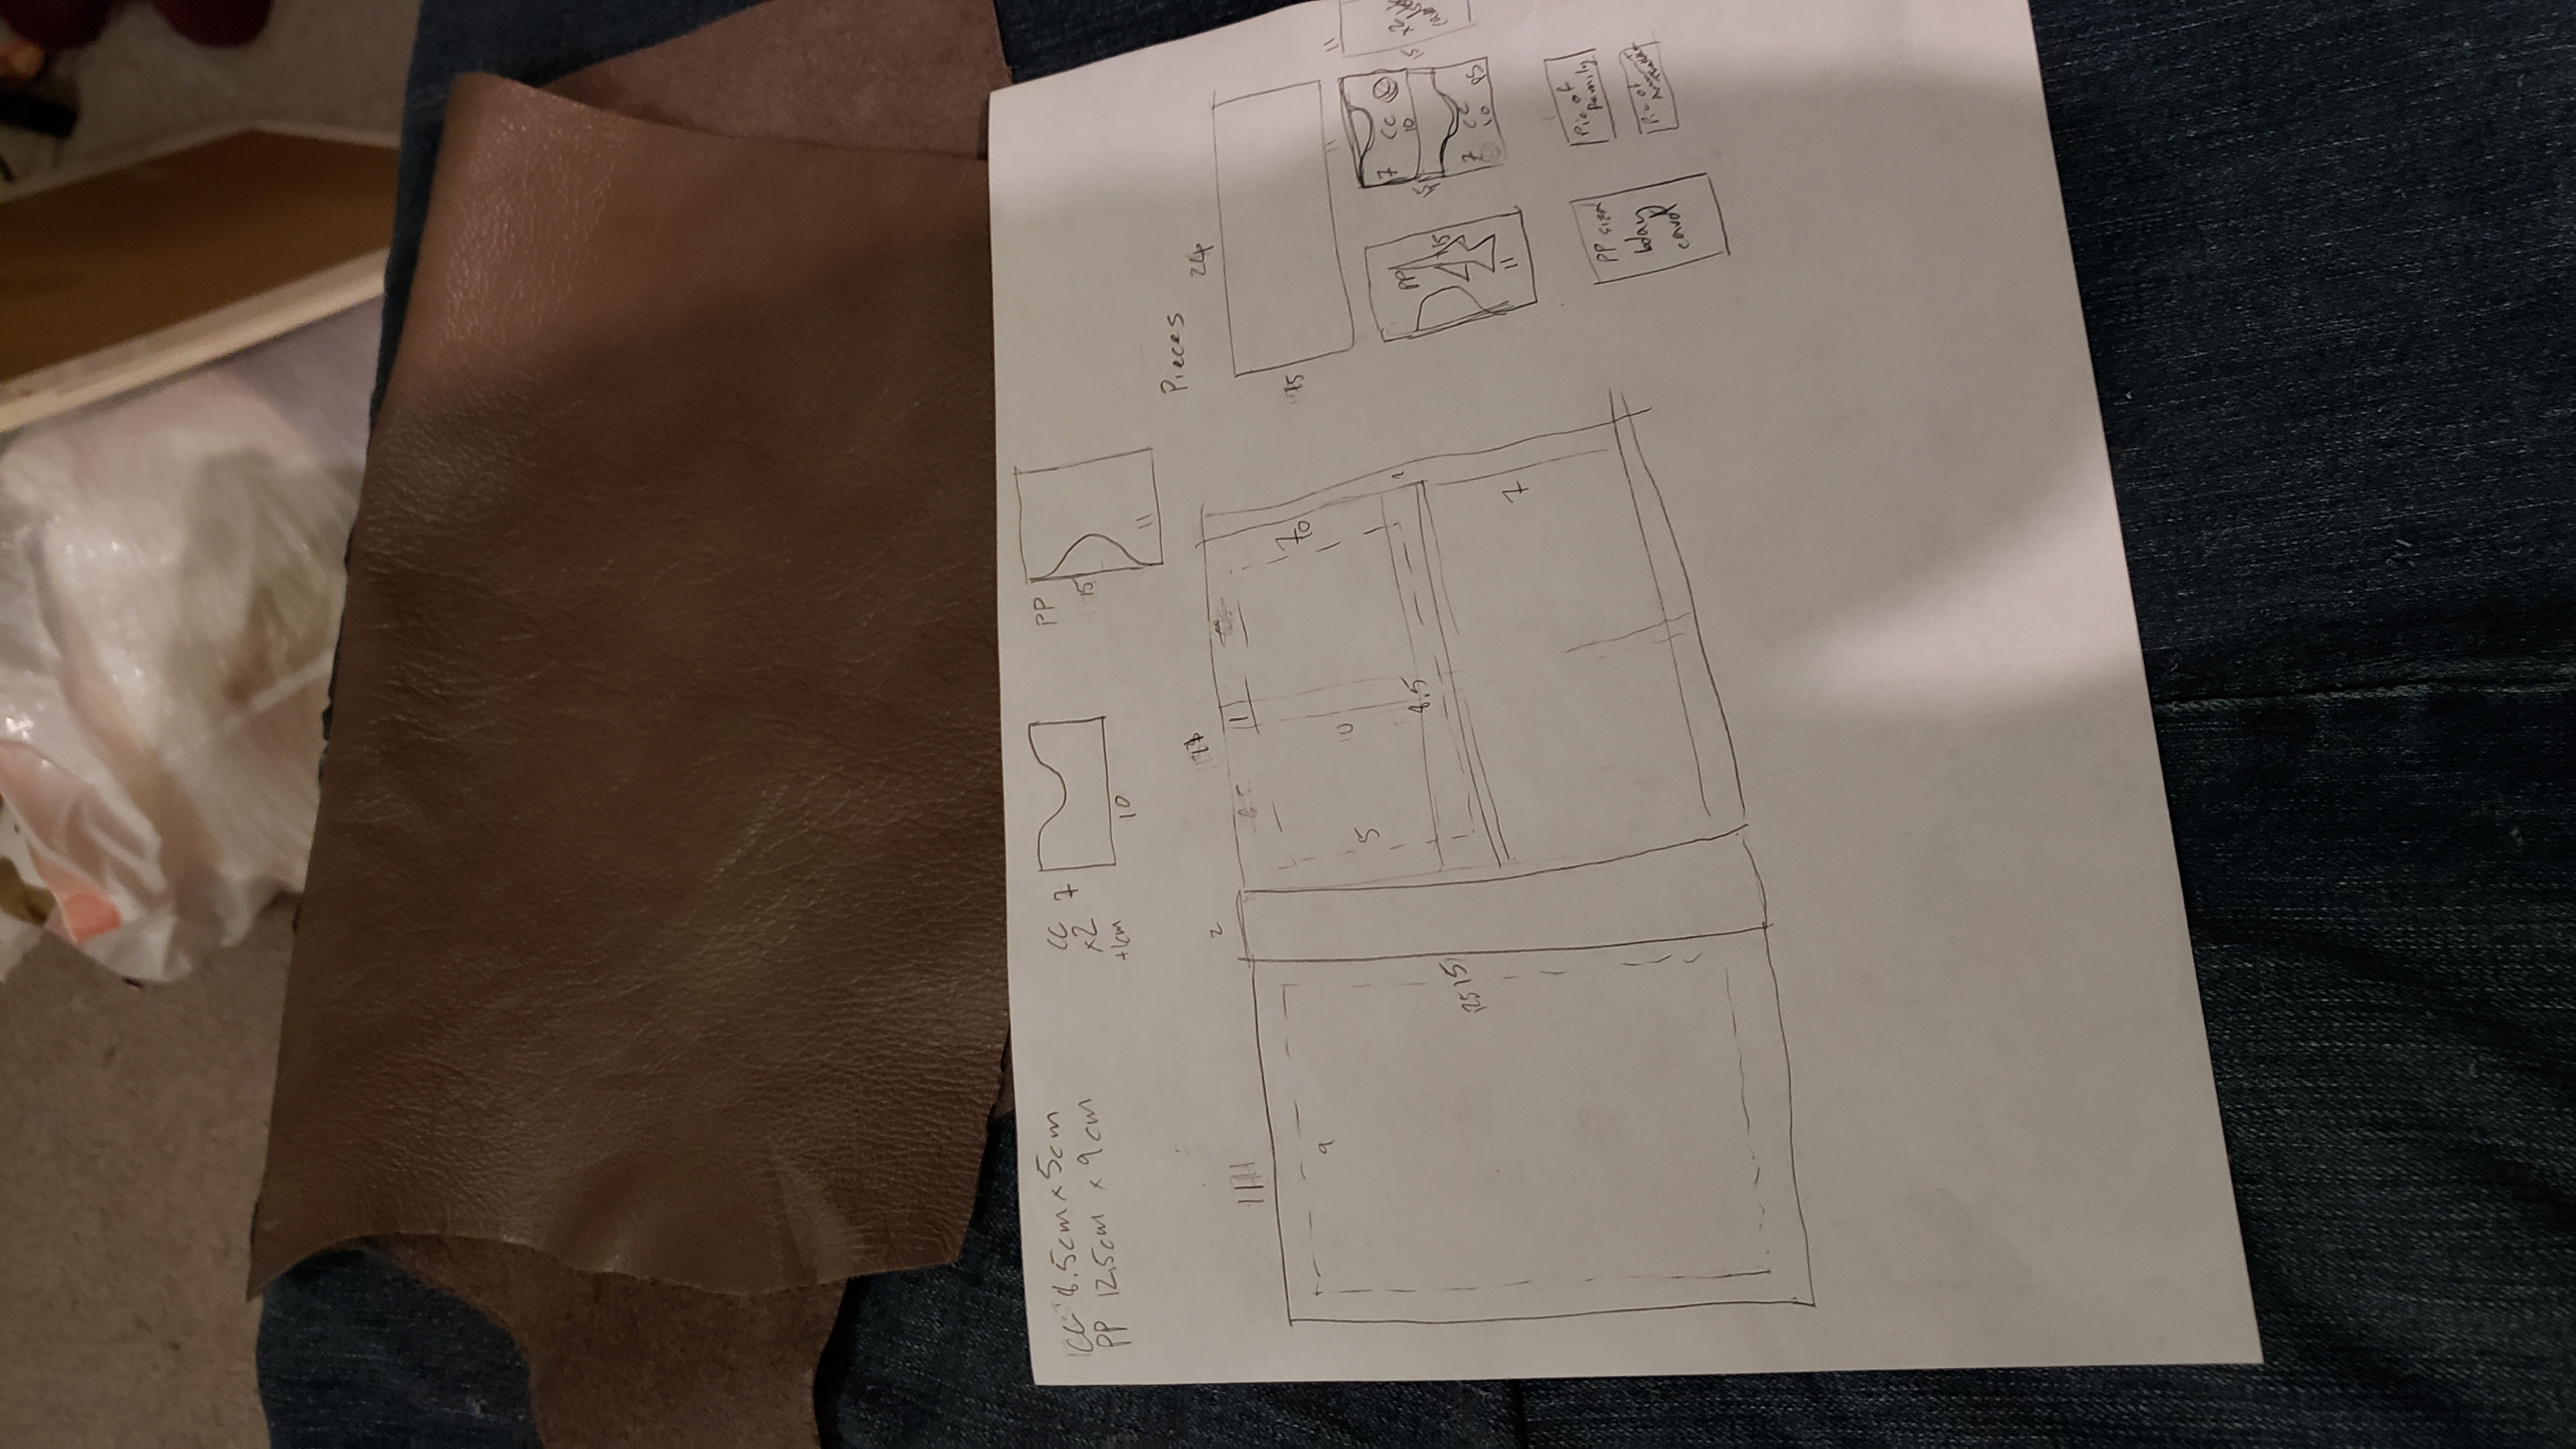
I knew I wanted the wallet to fit a passport inside of it. So I measured my passport and gave it an extra centimeter of slack in each direction. I then noticed that the size seemed right to fit two credit cards in the same profile, so I decided on an opening-and-closing design. With all this in mind, I drew out my initial design on paper, and measured out whether all the pieces could fit on the leather that I had.
It turns out that credit cards are roughly 8.5 cm by 5 cm, and US passports are 12.5 cm by 9 cm.
Shapes

I had my partner take my sketches and turn them into an SVG for lasercutting. I think this step is reasonably self-explanatory. It’s important to note that this is real leather, not pleather. Pleather is made from PVC, which, when lasercut, releases chlorine gas. That’s… not great. If you’re using pleather, use an exacto knife with the above template.
Finishing up
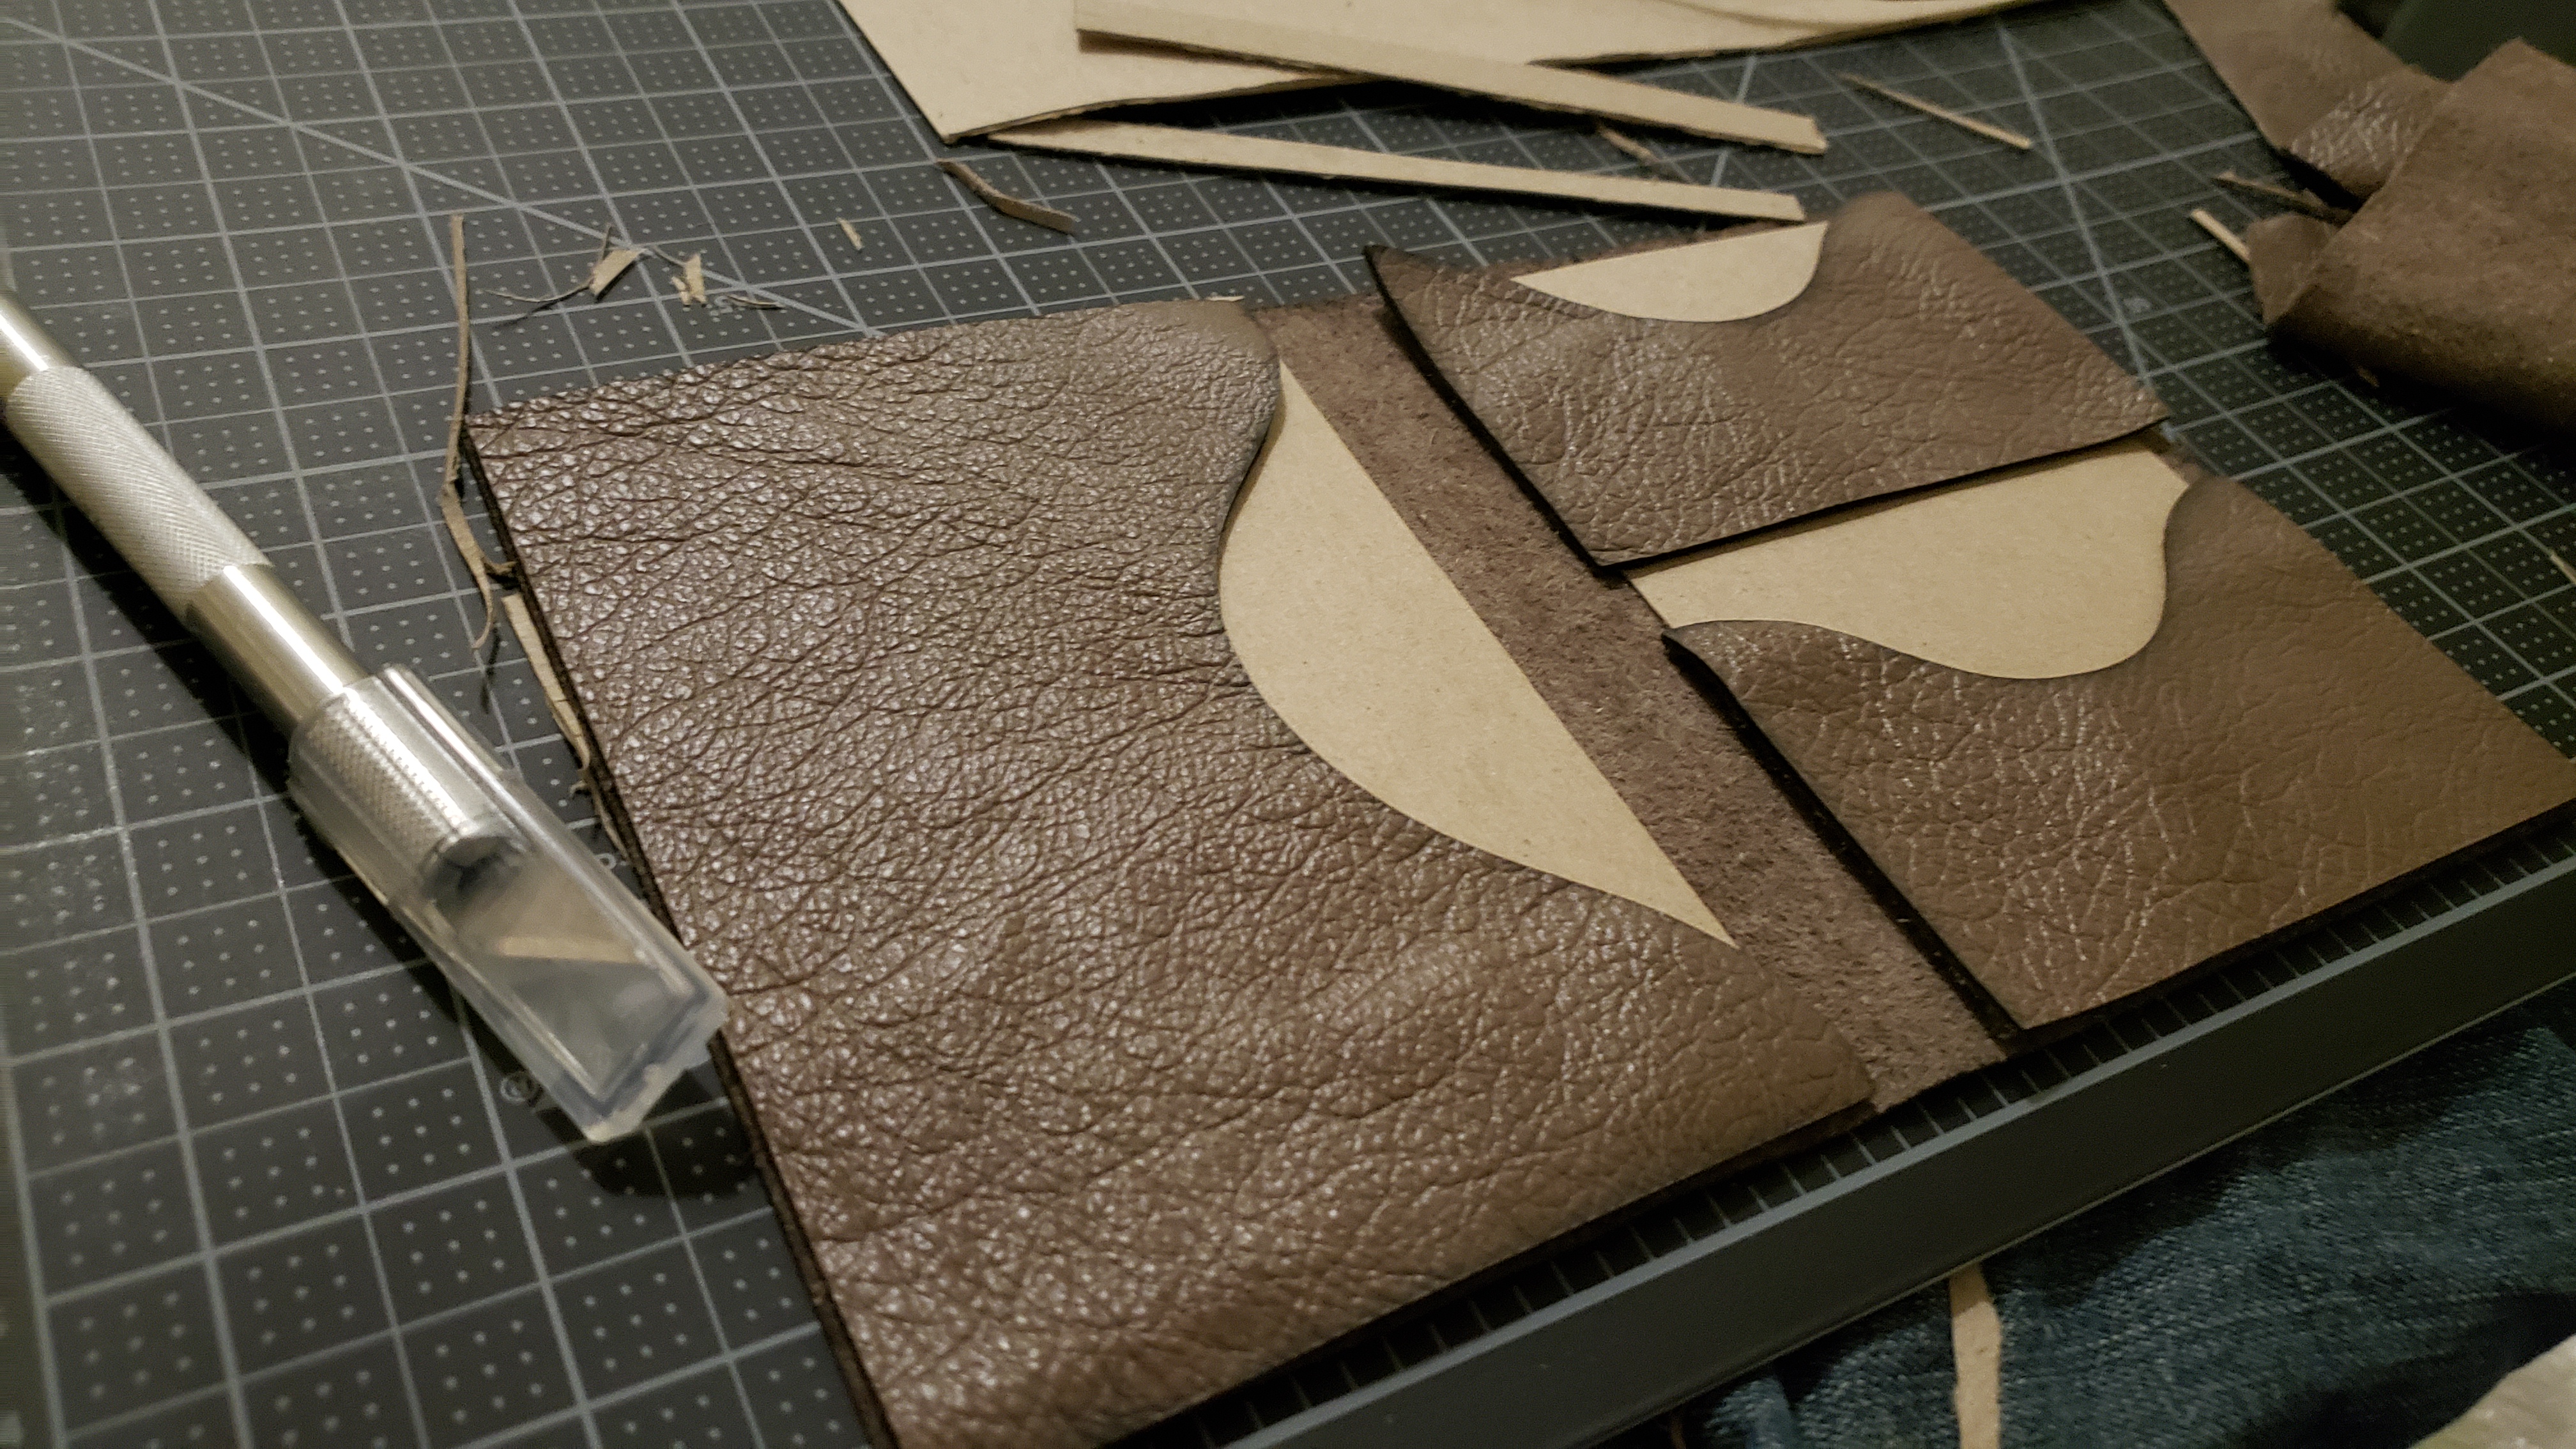
I put two pieces of cardboard on the large rectangular portion of the wallet, and laid out the rest of the pieces into the final arrangement. I glued the cardboard to the leather using school glue, though I would have used PVA if I had had any on hand. I took my stitching wheel to mark out regular points along the border of the piece where I wanted to sew.
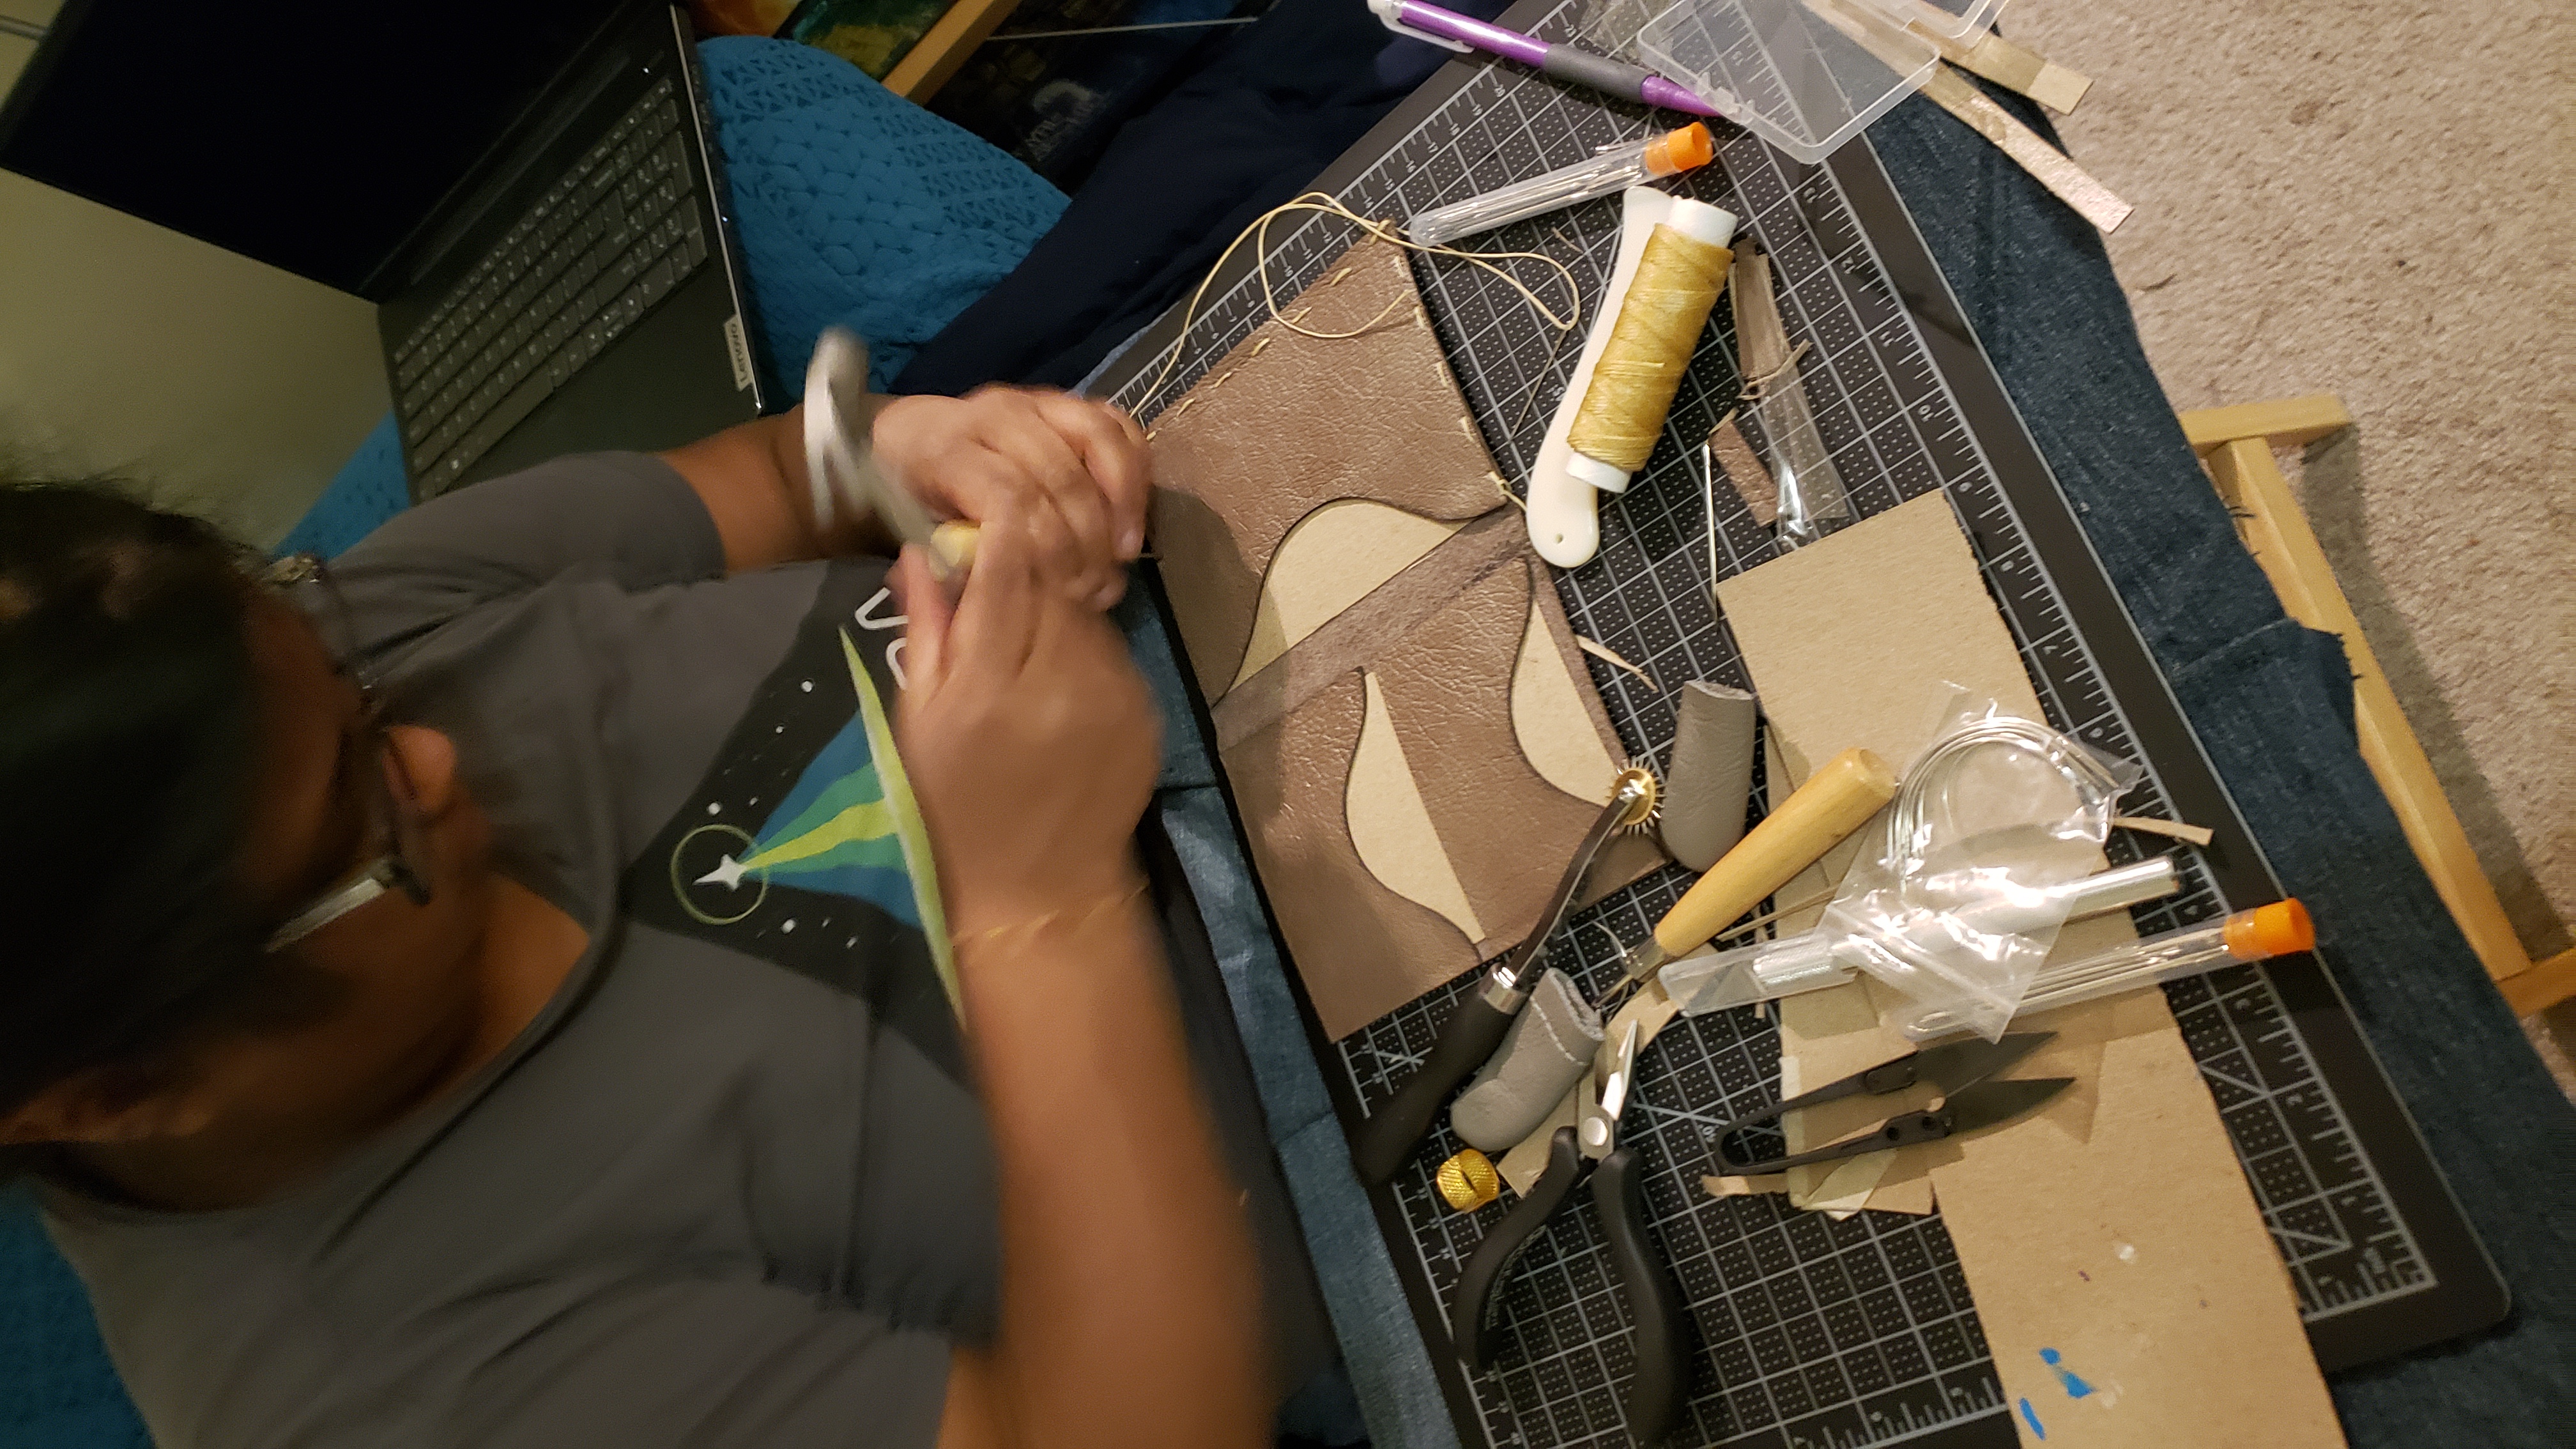
I pierced holes into the leather using the piercing awl and hammer, as above. I punched every third marking that the stitching wheel made, approximately .75cm apart.
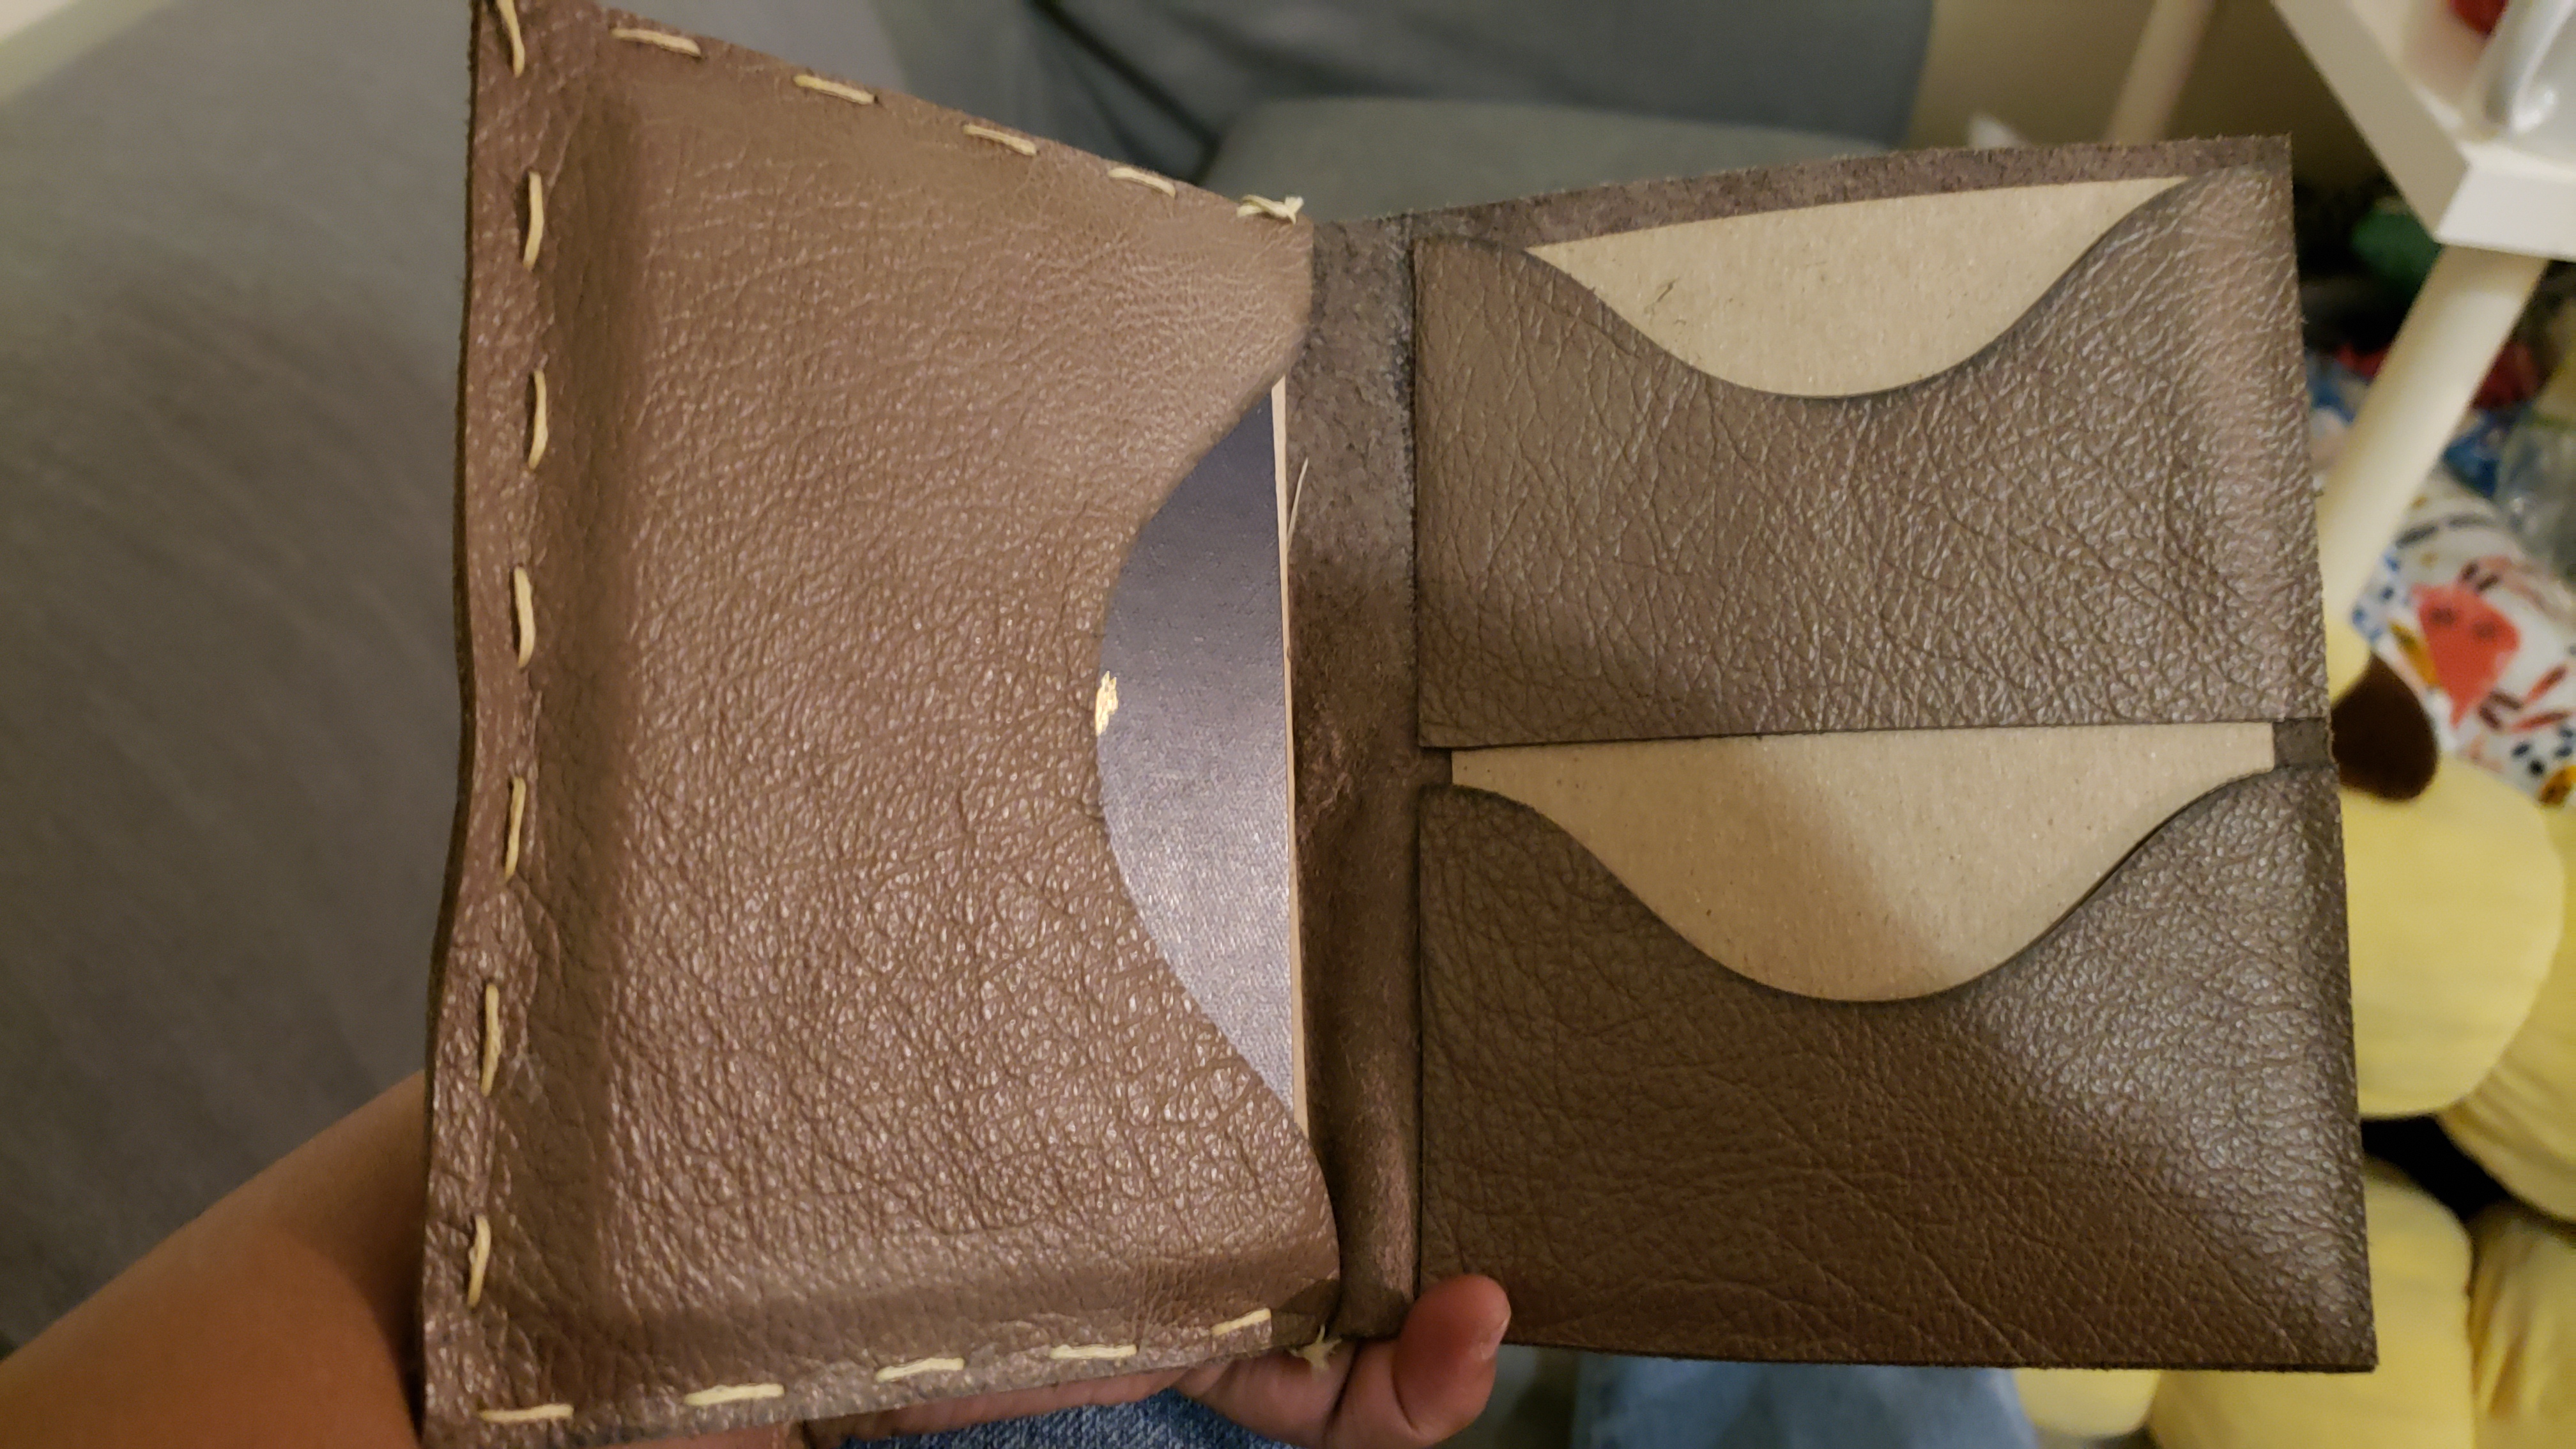
Here you can see the left side of the wallet having been sewn with the waxed thread.
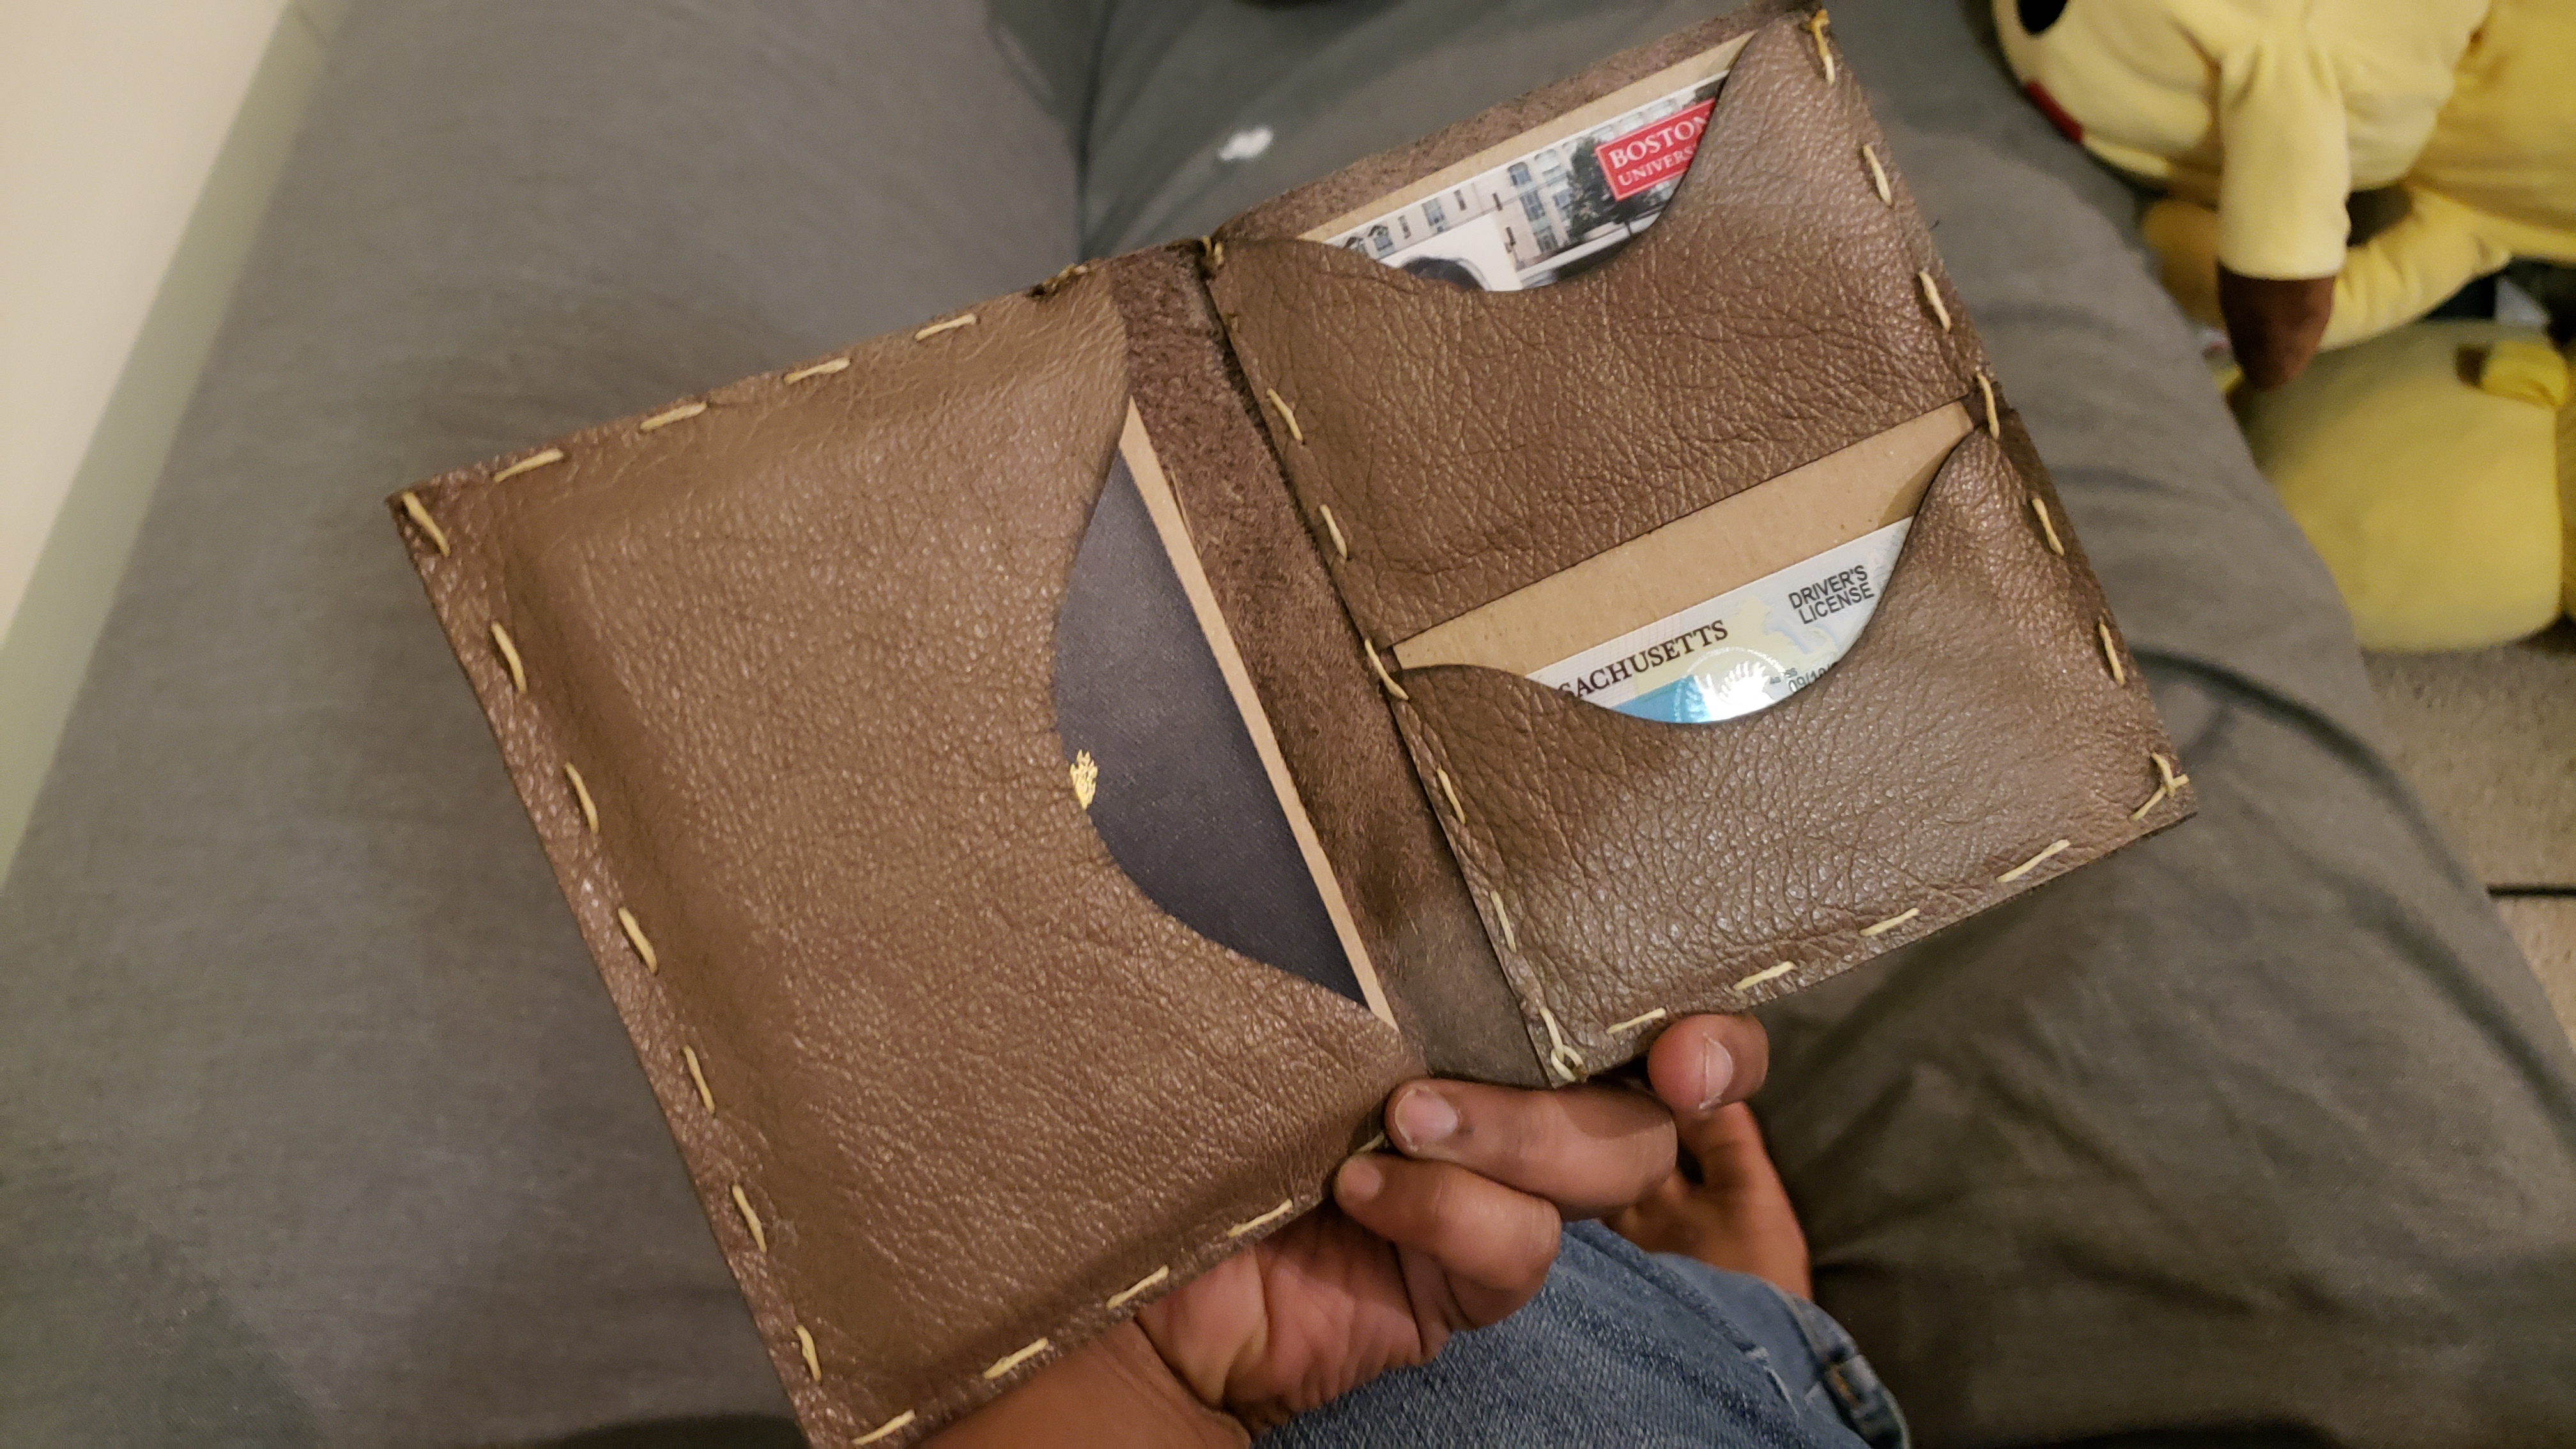
Annnd, here’s the finished wallet! I didn’t sew the middle bottom flap down on the right side because I thought it wouldn’t be necessary, and that assessment hasn’t been proven wrong. I tied off the ends of the waxed thread and burned them with a lighter to seal it off. I’m very proud of this pieces, since it’s the first time I’ve ever done any amount of leatherworking. Thanks for reading!